Research-backed backyard BBQ guide
Smoked Beef Ribs for Beginners: A Cue-Based First Cook
This beginner guide walks through cut selection, cooker setup, bark development, tenderness checks, resting, and the mistakes that make smoked beef ribs harder to manage.
Quick navigation
What this guide covers
- Decision checklist
- Start with the right beef ribs
- Set up a forgiving first cook
- Build bark before deciding whether to wrap
- Know when beef ribs are tender
- Rest, slice, and diagnose the result
- Make the next cook measurable without pretending it is a lab
- Before relying on this guide
- Official safety guidance vs. barbecue texture
- What community questions add—and what they do not
Quick answer
Decision checklist
Concise answer: For a beginner, choose meaty plate or chuck short ribs, season simply, run the smoker around 250–275°F, and cook until the bark is set and a skewer slides between the bones with very little resistance. Time is only a planning estimate. Use a thermometer for food safety and as context, but let tenderness—not one finish number—decide when collagen-rich ribs are ready. Rest them before slicing.
- Buy plate short ribs or chuck short ribs with a thick, even meat cap; thin beef back ribs cook differently.
- Keep the fire clean and the cooker steady instead of chasing every small temperature swing.
- Do not wrap until the bark is dark, dry to a light touch, and no longer wipes away. Wrapping is optional.
- Check several spaces between bones. One soft pocket can mislead you.
- Rest long enough for the surface to stop steaming aggressively, then slice one bone per serving.
Start with the right beef ribs
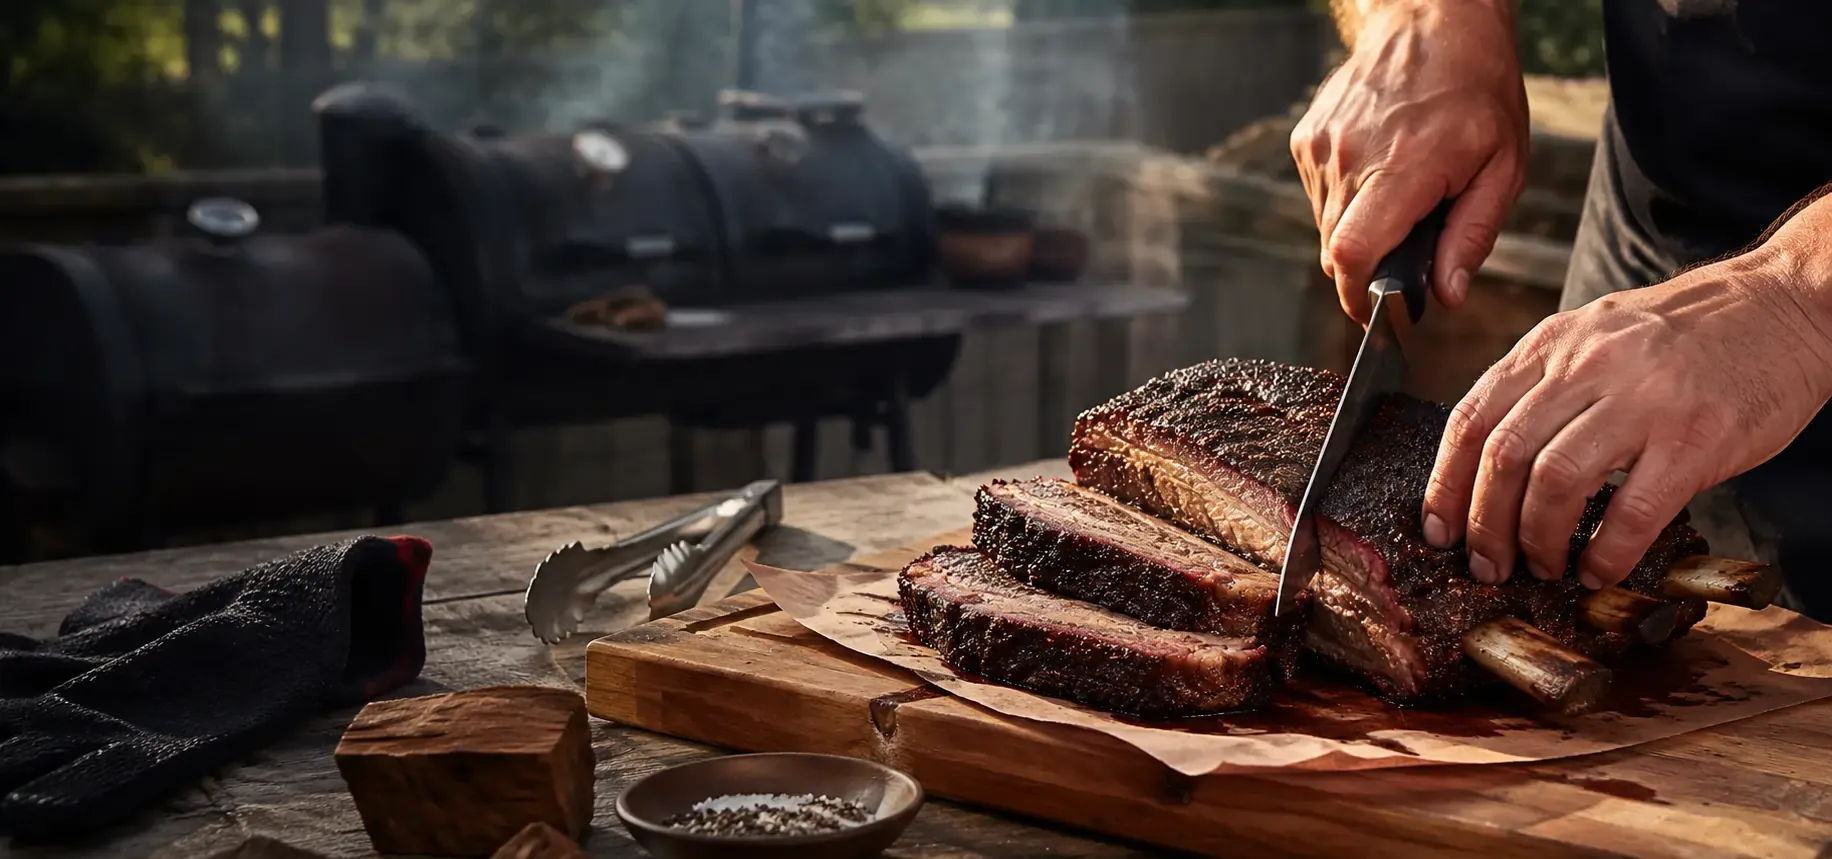
“Beef ribs” can mean very different cuts. Plate short ribs—often sold as a three-bone rack—carry a deep layer of meat above large bones. Chuck short ribs are usually four bones and can be slightly smaller. Beef back ribs come from near the rib roast and often have less meat between prominent bones. A beginner recipe written for thick plate ribs cannot be transferred to a thin back-rib rack without changing the cook. Ask the butcher what section the ribs came from and look for consistent thickness rather than the biggest package.
Leave a useful fat layer, but remove loose flaps that will burn. On plate ribs, the tough membrane on the bone side helps hold the rack together; it is not the same decision as peeling pork-rib membrane. Trim only hard exterior fat and ragged edges. Pat the surface dry. A simple salt-and-pepper-forward rub makes it easier to learn what the beef and smoke are doing. If the rub contains much sugar, remember that a hot spot can darken it before the meat is tender.
Set up a forgiving first cook
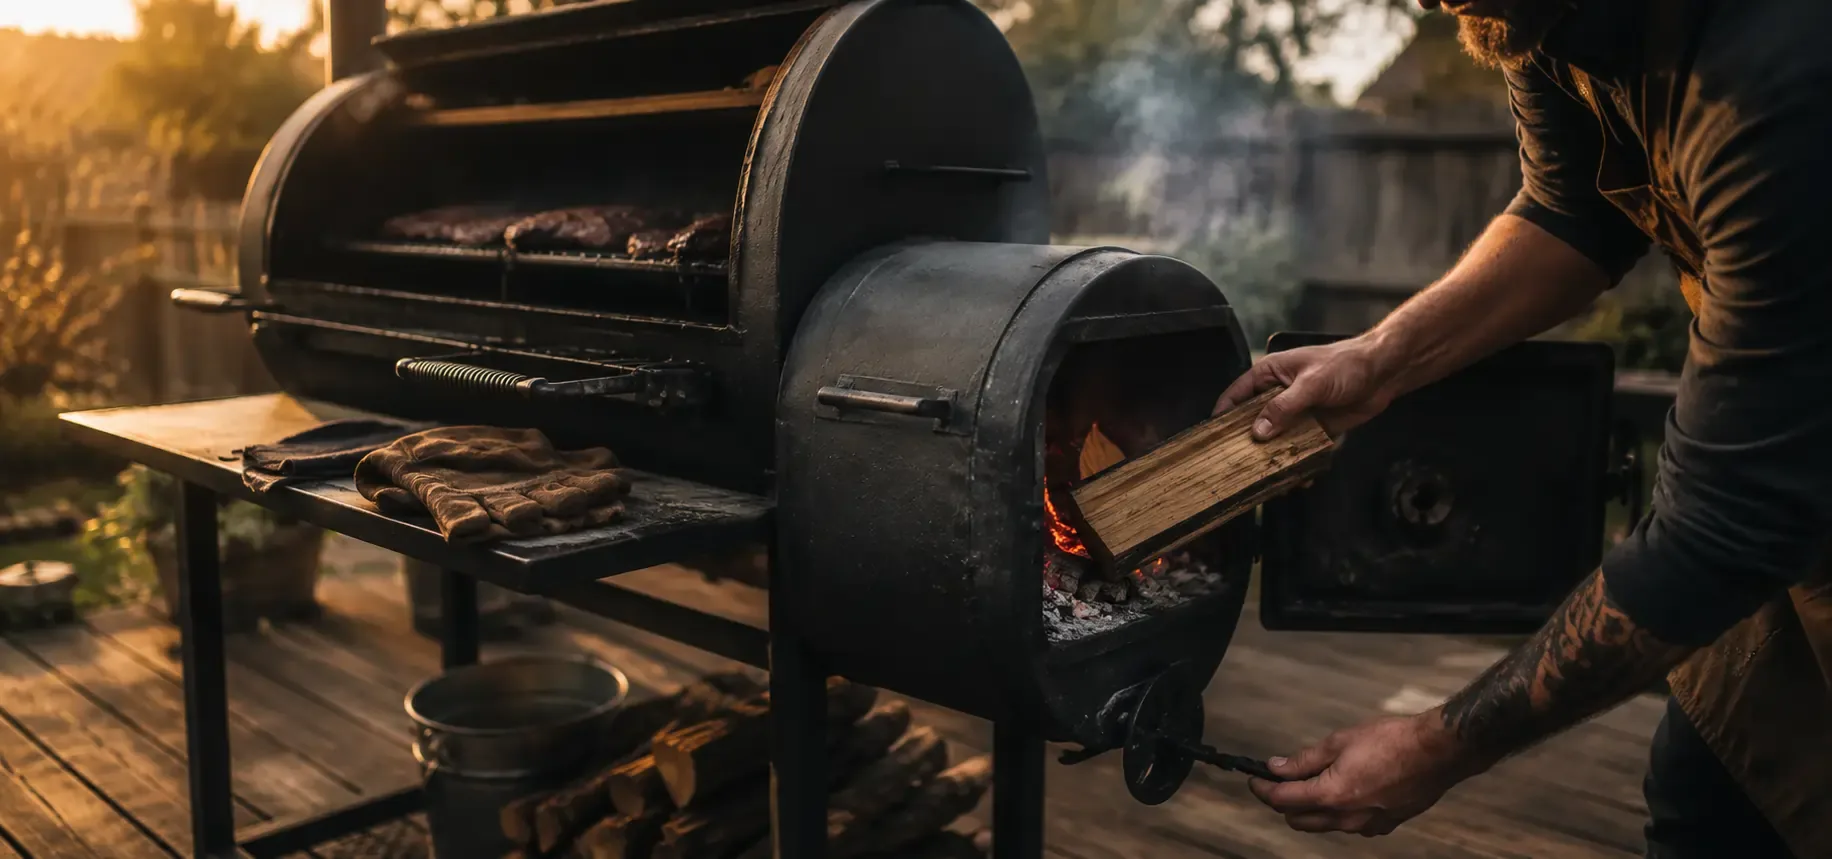
Run the smoker according to its manual and stabilize it before loading the rack. A practical cooking band is 250–275°F at grate level. That is a texture method, not a safety rule and not a promise about duration. Put the thickest part away from the strongest radiant heat. If the cooker has a known hot side, orient the bones or rotate only when the surface shows uneven color. Keep the exhaust path unobstructed. Heavy, stale smoke is not a shortcut to stronger flavor.
Plan more time than you think you need. Thick beef ribs can take many hours, but rack thickness, starting temperature, airflow, cooker design, weather, and wrapping can move the finish substantially. The useful schedule is “finish early and rest,” not “force the rack to finish at dinner.” Record pit temperature, opening events, wrap time, and tenderness checks. Those notes turn a first cook into a better second one without pretending the first result was a controlled test.
Build bark before deciding whether to wrap
For the first phase, leave the ribs alone long enough for the rub to adhere and the surface to darken. Spritz only if a patch is drying much faster than the rest; repeated lid opening can lengthen recovery and does not inject moisture into the meat. The wrap decision should follow the surface. If a light finger touch removes seasoning, the bark is not set. If color and bark are where you want them but the interior still needs time, wrapping can reduce evaporation and speed the finish.
Foil traps the most moisture and softens bark the most. Unwaxed butcher paper breathes more but still reduces evaporation. No wrap preserves the driest bark and may take longer. Avoid filling a wrap with so much liquid that the rack braises and the crust washes away. If you wrap, place the rack back with the seam secure and begin checking tenderness before a generic recipe says it “should” be done.
Know when beef ribs are tender
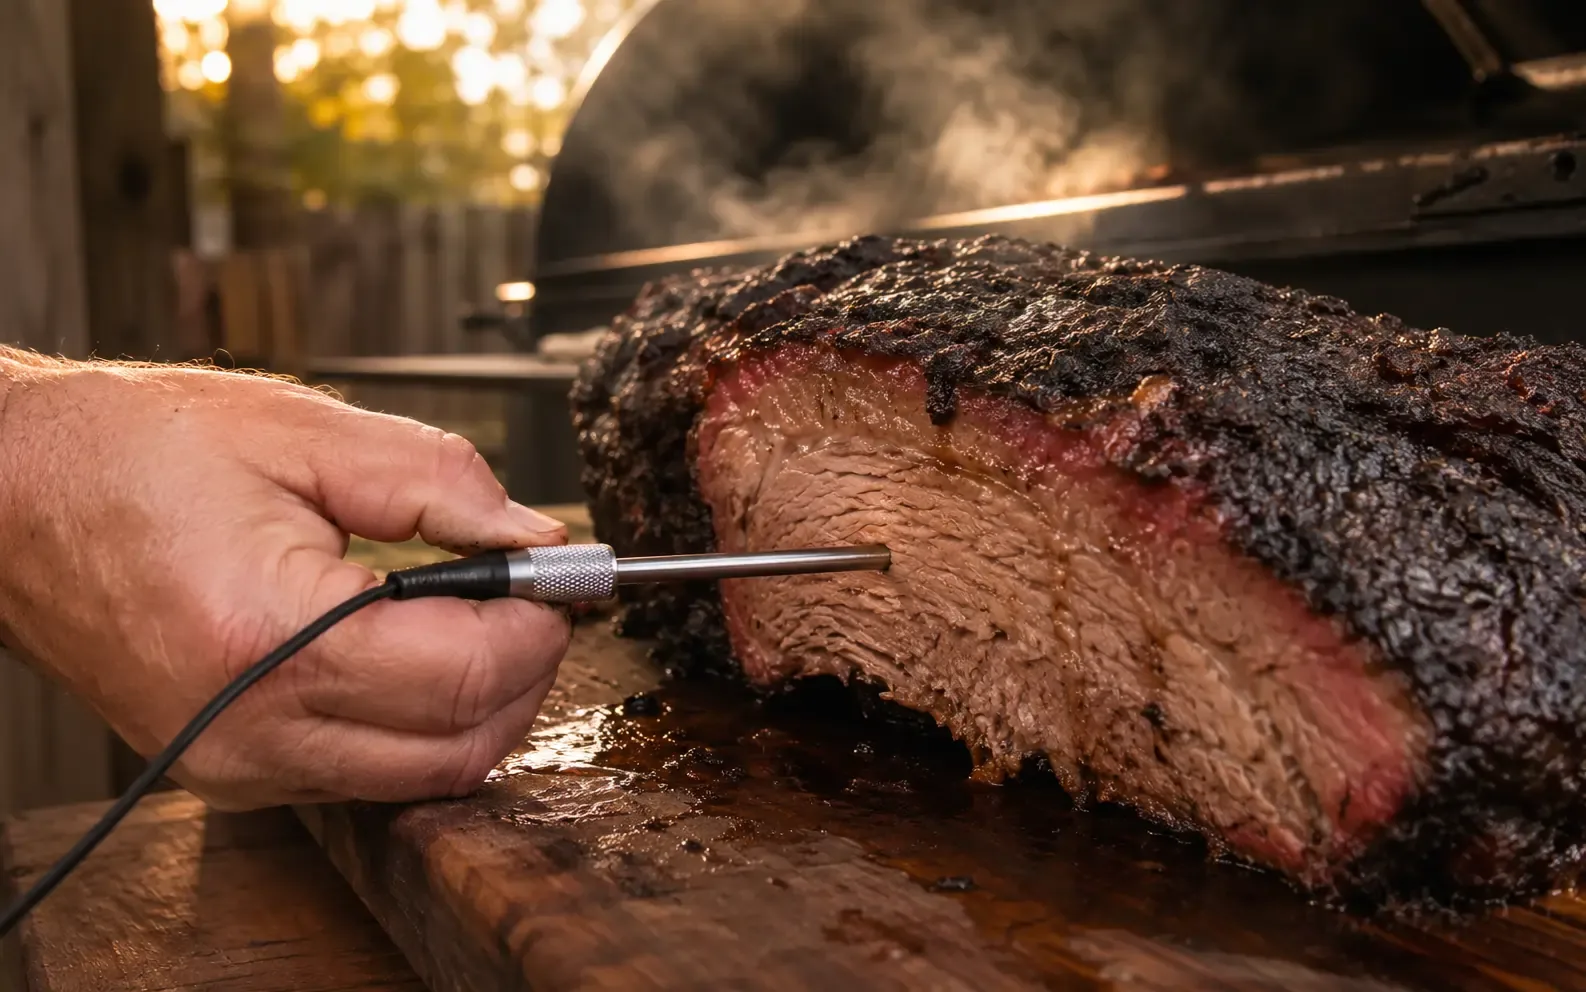
Temperature is useful context because connective tissue softens over time at elevated heat, but there is no universal magic finish number. Many barbecue cooks begin checking thick short ribs in the upper 190s°F and often finish somewhere around 195–205°F; that is a texture observation, not an official safety minimum or a guaranteed range. Probe between bones in several places without touching bone. The skewer should enter with little drag, similar to softened butter, while the rack still holds together.
Look for a dark set bark, some bone exposure, and a rack that feels relaxed when lifted. Bone pullback alone can also reflect trimming or heat, so do not use it by itself. If the meat reads a familiar number but the probe still catches, keep cooking and check again later. If one thin edge is tender but the center is tight, protect the edge and let the center continue. Beginners improve fastest when they write down both temperature and feel.
Rest, slice, and diagnose the result
Resting is part of service, not a rescue for undercooked ribs. Vent a tightly foiled rack briefly if the bark is wet, then hold it in a clean, insulated setup that does not create a food-safety problem. Do not leave cooked meat drifting at warm room temperature while waiting for guests. Slice between bones so each serving shows the grain and moisture. A clean cut matters more than squeezing juices for a photo.
Tough ribs were usually pulled before connective tissue softened, even if the internal number looked high. Dry, crumbly meat may have gone too long, spent too much time exposed in a hot or dry zone, or started as a thin/lean rack. Bitter bark points toward dirty combustion, too much strong wood, or burned rub. Soft bark usually comes from early wrapping, excess wrap liquid, or a long sealed hold. Change one variable next cook rather than changing fuel, rub, temperature, wrap, and rest all at once.
Make the next cook measurable without pretending it is a lab
Before lighting the cooker, write down the exact cut or fillet, starting weight, thickness, cooker configuration, fuel, seasoning or brine, ambient conditions, and planned grate temperature. Verify the thermometer in an appropriate calibration check and photograph placement only if the image is real. During the cook, log actual grate and internal readings at useful intervals plus every lid opening, wrap, rotation, spritz, or setting change. Elapsed time should appear as a result of that cook, not as a promise to the next reader.
Define the decision cue before you see the outcome. For ribs, that could be bark that no longer smears plus low skewer resistance in multiple spaces. For salmon, it is the official thickest-point endpoint with thickness and surface condition recorded. If comparing wrapped and unwrapped food, use matched pieces and keep placement as equal as the cooker allows. If only one item is cooked, label the result one field note rather than a comparison.
After resting, record what failed as carefully as what worked: a dry edge, soft bark, harsh smoke, uneven color, a probe that touched bone, or a controller recovery after the lid opened. State how many people tasted and whether the assessment was blind. One cook can improve a household process, but it cannot establish a universal “perfect” method. Change one major variable next time so the notes can actually teach you something.
Before relying on this guide
Confirm the variables this research cannot see. Read the manual for the exact cooker and accessory, inspect the food label and cut, verify that fuel is intended for cooking, and check the thermometer before the cook. Build extra schedule margin so a late finish does not force a higher temperature, premature pull, unsafe hold, or skipped rest. Keep raw-food tools separate from serving tools and prepare a clean tray before the food leaves the cooker.
During the cook, treat a surprising smell, error code, flameout, grease fire, prolonged temperature loss, or uncertain food handling as a stop-and-assess event—not content for a clever workaround. Manufacturer instructions govern the appliance; current official guidance governs safety. This article can organize decisions, but it cannot inspect your equipment or food.
For editorial release, a human reviewer should verify the official source on the review date, identify who takes responsibility for the article, and add only real evidence. If a cook log is later added, it must name the cooker, fuel, food, conditions, measurements, result, and limitations. Keep this research label unless that complete evidence record is reviewed. An attractive illustration or a successful-looking final photo does not upgrade the evidence level.
Official safety guidance vs. barbecue texture
Official safety: USDA lists 145°F with a 3-minute rest for whole cuts of beef. That minimum addresses pathogen reduction; it does not make collagen-rich short ribs barbecue-tender. Use a clean thermometer in the thickest meat away from bone for safety context. Continue cooking for texture as needed, and handle leftovers promptly.
Texture and preference: Texture cues, smoke strength, bark, flaking, and tenderness are quality decisions. They do not replace an official safe minimum, clean handling, or a calibrated thermometer.
What community questions add—and what they do not
Beginner discussions repeatedly mix up back ribs and plate ribs, treat 205°F as an automatic finish line, and worry that a rack is “stalled.” The useful synthesis is to identify the cut first, budget extra time, and pair a multi-spot probe test with the temperature reading. These are recurring questions, not proof of a method.
Evidence status: Research-backed; not hands-on tested This article synthesizes official safety guidance, extension or manufacturer material where applicable, the governed live-site architecture, and recurring public community questions. No cook, taste test, equipment test, photograph, timing result, or flavor ranking was performed for this draft.
Frequently asked questions
How long do beef ribs take at 250°F?
Often several hours, but thickness, cut, cooker, weather, and wrapping matter too much for a reliable fixed time. Cook to bark and tenderness, and start early.
Should I use the 3-2-1 method for beef ribs?
No fixed 3-2-1 schedule is necessary. It was popularized for pork ribs and can over-soften or mistime different beef-rib cuts.
Do I remove the membrane from beef ribs?
Usually not from thick plate ribs; it helps hold the rack together. Trim loose material, but do not assume pork-rib membrane advice transfers directly.
What wood works with beef ribs?
Oak is a moderate starting point; hickory is stronger. Use clean, food-grade hardwood in the form your cooker permits and avoid over-smoking.
Should beef ribs be wrapped?
Wrapping is optional. Wrap after bark sets if you want to reduce evaporation or accelerate the finish; stay unwrapped for firmer bark.
What temperature are smoked beef ribs done?
USDA safety and barbecue tenderness are separate. Whole beef has an official minimum of 145°F plus a 3-minute rest, while thick short ribs generally need much more cooking to become probe-tender.
Can I smoke individual beef short ribs?
Yes, but more exposed surface means they can cook and dry faster than a whole rack. Check each piece rather than assuming they finish together.
Why are my smoked beef ribs tough?
The most common explanation is insufficient tenderizing time, especially when a cook stopped at a number instead of checking resistance between the bones.
Methodology and limitations
Methodology. We matched this page to one search intent in the approved Master Plan, checked it against the live governed URL inventory, reviewed the project’s non-Amazon audience synthesis, and used primary or official sources for safety and model-boundary claims. Community language was paraphrased at pattern level; no username, quote, or distinctive comment was copied.
Limitations. This is E0 research synthesis, not first-hand evidence. We did not run the procedure, compare woods, log a cooker, measure weather, calibrate a probe, photograph stages, or convene a tasting panel. Cooker model, food thickness, fuel composition, airflow, ambient conditions, and personal texture preference can change the result. Generated editorial art, if later assigned, must be labeled illustration and cannot serve as proof.
Sources
- USDA FSIS Safe Temperature Chart (checked 2026-08-01)
- BackyardBBQGuide live Smoked Beef Ribs parent (checked 2026-08-01)
Access note: USDA/FSIS pages returned HTTP 403 to the automated research client on 2026-08-01; the official URLs are retained for human safety review before any CMS draft. The University of Alaska Fairbanks fish-smoking source returned HTTP 200 where used. Manufacturer material is model-specific operating guidance, not independent product testing.