Beginner BBQ Troubleshooting
BBQ Mistakes Beginners Make—and What to Do Instead
The most expensive beginner BBQ mistakes are not bad rubs; they are uncontrolled heat, restricted airflow, dirty smoke, measuring in the wrong place, cooking by clock alone, and starting too late. Build a stable fire, keep the exhaust working, verify temperature beside the food, use time only for planning, and finish by safety plus cut-specific texture cues. Change one variable per cook so a failure teaches you something.
In this guide
- Mistake 1: lighting too much fuel
- Mistake 2: using the exhaust as a brake
- Mistake 3: adding wood until smoke is obvious
- Mistake 4: trusting one thermometer location
- Mistake 5: cooking by a fixed clock
- Mistake 6: opening the lid to solve uncertainty
- Mistake 7: treating more moisture as a cure for dry meat
- Mistake 8: cooking poultry low without a skin plan
- Mistake 9: starting at noon for a fixed dinner
- Mistake 10: changing everything after one disappointing cook
- Mistake 11: confusing barbecue texture with food safety
- Frequently asked questions
- Sources
Quick answer
Mistake 1: lighting too much fuel
A beginner often fills the cooker because more fuel feels safer. The result can be an overshoot that takes an hour to calm down, especially in an insulated cooker. Start with the amount appropriate to the cooker and target, then let a smaller controlled fire establish. On charcoal, light a measured portion and add unlit fuel through a planned arrangement. On an offset, build a compact coal bed and feed small splits.
If the pit is already too hot, stop adding fuel, protect the food from direct radiant heat, and make measured intake changes. Do not close every vent on a live cook, because starving combustion can trade excess heat for acrid smoke. Write down the startup fuel so the next cook begins with evidence rather than memory.
Mistake 2: using the exhaust as a brake
Closing the top vent or stack seems like an easy way to trap less heat, but it can trap combustion products and reduce draft. In most charcoal and offset workflows, the exhaust remains open and the intake plus fire size govern heat. The cooker manual is the authority because some designs differ.
If smoke becomes dense and sharp after a vent change, restore airflow and check the fuel. Clean smoke is a combustion outcome, not a color filter. Do not chase an invisible plume by making the fire unsafe. Keep the outlet clear of grease, nests, covers, or dampers left closed after storage.
Mistake 3: adding wood until smoke is obvious
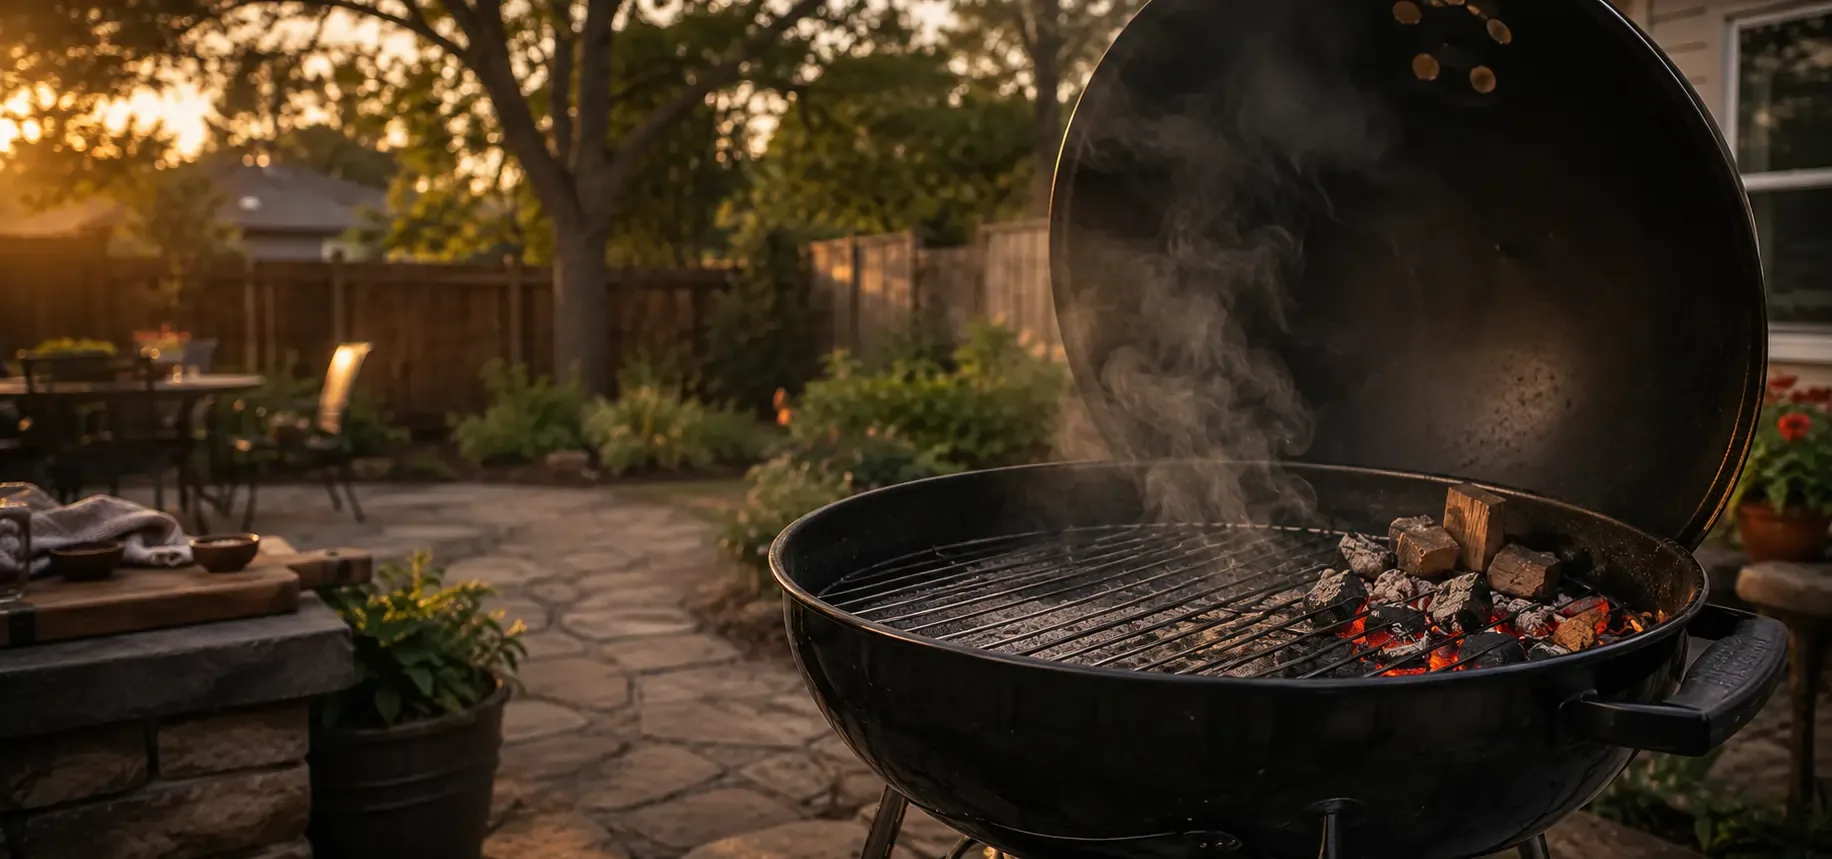
Smoke flavor accumulates. A cooker does not need to pour white smoke for the whole session. Too many chunks, damp splits, or wood sitting away from hot coals can smolder and coat food with a harsh surface. Use known, dry, untreated wood in the form approved for the cooker. Let new fuel ignite and keep adequate airflow.
When food tastes bitter, reduce dose and inspect combustion before blaming the species. A mild wood burned poorly can taste worse than a small amount of strong wood burned cleanly. Never use construction scraps, treated lumber, moldy wood, or an unknown yard species.
Mistake 4: trusting one thermometer location
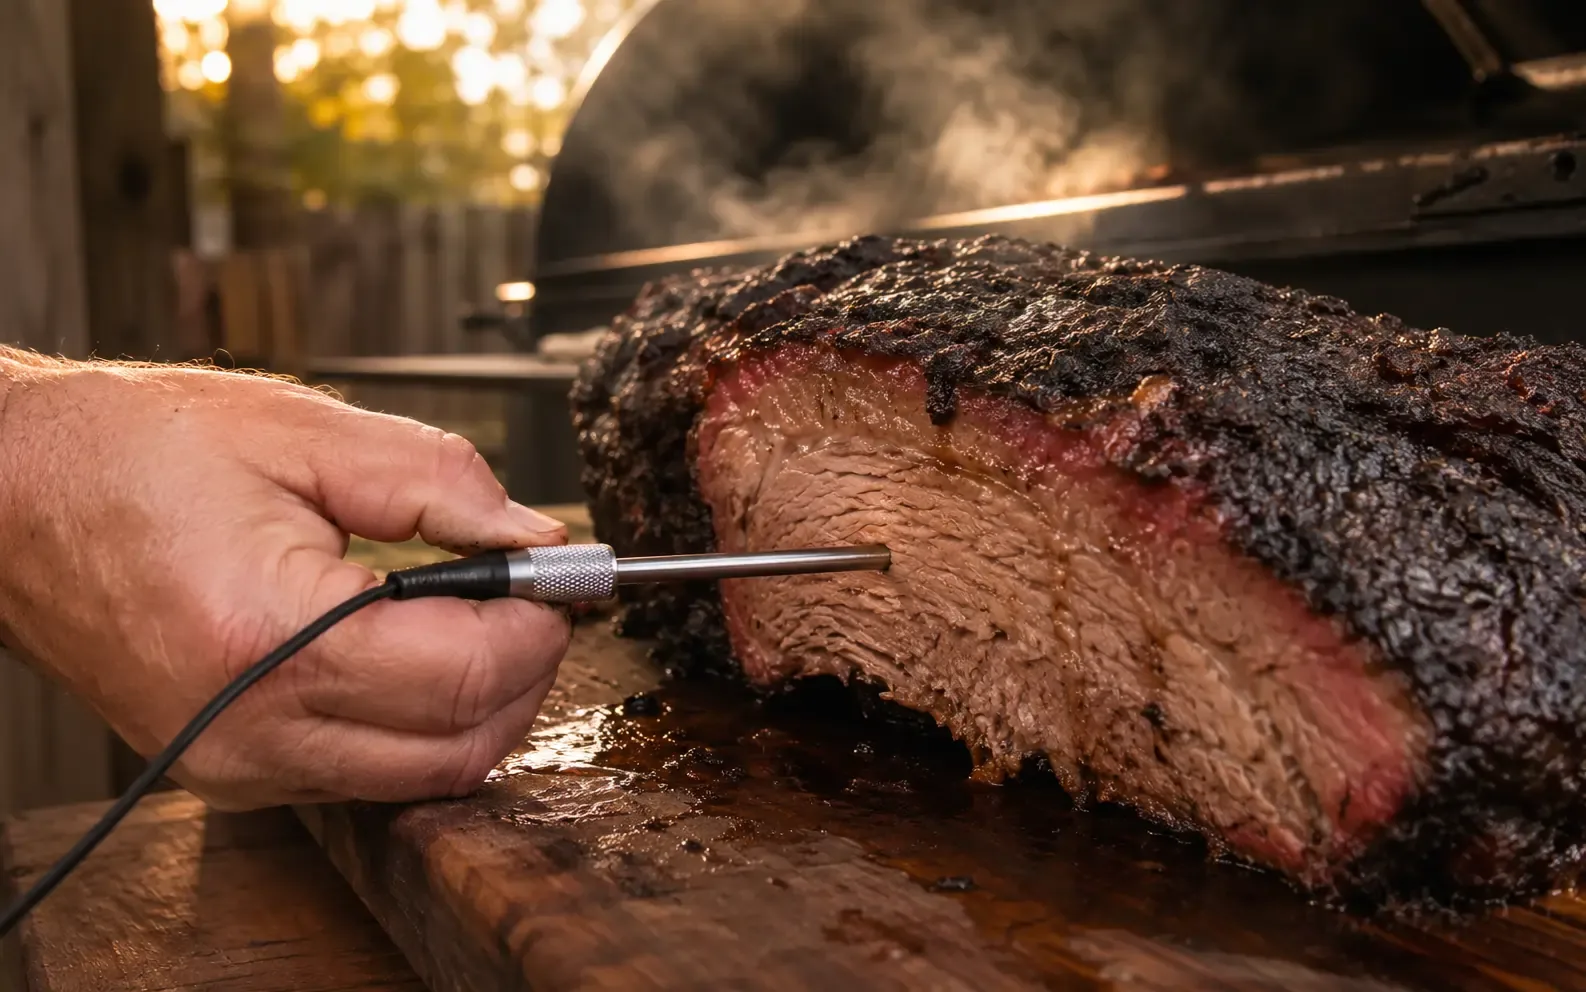
The lid gauge, controller display, grate beside the fire, and food surface can all show different temperatures. A number is useful only when you know where and how it was measured. Put an ambient probe near the food without touching metal. Put a leave-in food probe in the thickest muscle away from bone and fat seams, then confirm with an instant-read thermometer in several locations.
If readings disagree, inspect placement and response time before buying another device. Run the manufacturer’s verification procedure and record offsets. A thermometer does not become accurate because it has an app, multiple decimal places, or a green doneness preset.
Mistake 5: cooking by a fixed clock
The popular clock gives a planning window, not a finish line. Meat thickness, composition, starting temperature, chamber temperature, evaporative cooling, weather, and lid openings all alter duration. A rib rack can be tough at the end of a copied schedule; a small poultry piece can be dry before the timer rings.
Plan with time, finish with signals. Use official minimum temperatures for safety, then use cut-specific cues for texture: skewer resistance for ribs, probe feel for brisket, and skin/rendering cues for poultry. Record elapsed time as the outcome of your conditions, not a rule for everyone.
Mistake 6: opening the lid to solve uncertainty
Every peek exchanges hot chamber air for outdoor air and can feed oxygen to a live fire. The cooker then recovers while the cook waits. Opening is justified when you have a decision to make: rotate around a hot spot, verify several food locations, wrap after bark sets, or add fuel safely. Opening just to see whether barbecue still exists teaches little.
Use remote probes for trends, a windowed checklist for inspections, and notes for split or spritz times. Spritz only when the surface and recipe goal call for it; it is not an automatic moisture injection. If the outside is dry because the pit is too hot, fixing heat matters more than adding spray.
Mistake 7: treating more moisture as a cure for dry meat
Water pans, spritzes, injections, brines, and wraps affect different parts of the process. A water pan can moderate the environment; it does not refill moisture into the center. Spritzing changes the surface and can slow bark. Wrapping reduces evaporation. Brining changes seasoning and water retention. None prevents dryness if the lean portion is overcooked.
Diagnose first. If thin edges dry while the center is tough, shield or separate them. If poultry breast is dry, review finish temperature and probe placement. If ribs are tough but juicy, they may need more tenderizing time rather than more sauce. Use the tool that matches the mechanism.
Mistake 8: cooking poultry low without a skin plan
Low chamber temperatures can add smoke but leave poultry skin rubbery because the skin does not render and dry sufficiently. Start with dry skin, avoid unnecessary surface moisture, and plan a higher-temperature cooking phase or controlled hot finish. Add sugary sauce only after the skin is close to the desired texture so it does not scorch.
Wood choice will not fix skin. Baking powder, salt, and air-drying can change the surface, but quantities and sodium need control. Keep food safety separate: current U.S. consumer guidance lists 165°F for poultry, measured in the thickest edible portion away from bone.
Mistake 9: starting at noon for a fixed dinner
Collagen-rich cuts finish when they finish. Starting late encourages unsafe shortcuts, extreme heat changes, rushed rests, and guests waiting. Build a reverse timeline with preparation, cooker stabilization, expected cooking range, checking, rest, and a reasonable buffer. Learn a safe holding method before relying on it for a party.
If food is behind, simplify side dishes and communicate rather than raising a sauced cooker into scorching territory. If it finishes early, use a controlled hold within current safety guidance and monitor the food, not the oven dial alone. Home ovens can cycle widely.
Mistake 10: changing everything after one disappointing cook
A dry result can trigger a new smoker temperature, wood species, rub, wrap, sauce, and thermometer on the next attempt. Even if the next cook improves, you will not know why. Keep a short cook log: cooker, fuel, weather, food weight, probe placement, chamber trend, major events, finish cues, rest, and one thing to change.
Choose the variable with the clearest mechanism. If the bark was bitter, fix fire and smoke dose. If the center was tough, review actual grate temperature and finish cues. If skin was rubbery, change surface drying or finishing heat. Repeat before calling a method proven.
Mistake 11: confusing barbecue texture with food safety
A texture target can be higher than an official safety minimum, but that does not make the higher number the safety rule. Whole pork cuts, poultry, fish, ground meat, leftovers, and holding each have distinct official guidance. Use current sources and measure correctly. Smoke ring, meat color, clear juices, tenderness, and hours cooked do not establish safety by themselves.
Keep raw food cold, prevent cross-contamination, clean probes, and refrigerate leftovers promptly. Operate live-fire and electric cookers outdoors or exactly as their manuals require; never use solid-fuel smokers in enclosed spaces. If conditions fall outside safe handling and you cannot establish the history, discard the food instead of relying on extra smoke or sauce.
Frequently asked questions
What is the biggest beginner BBQ mistake?
Losing control of the heat and combustion, then changing vents and fuel too aggressively. Build a smaller stable fire and make one measured correction at a time.
Should I keep the smoker exhaust open?
In most charcoal and offset cooking, yes, so combustion gases can leave. The manual governs your cooker; use intake and fire size as primary controls.
Why does my barbecue taste bitter?
Common causes include damp or excessive wood, a smoldering fire, restricted exhaust, and heavy smoke exposure. Correct combustion before changing recipes.
Does opening the smoker make cooking take longer?
It can. Opening dumps hot air and may disturb the fire. Open when a specific decision or maintenance task requires it, not from anxiety.
Why is meat tough at the target temperature?
One reading may be poorly placed, and temperature alone does not guarantee connective tissue has softened. Confirm several locations and use cut-specific texture cues.
Does a water pan keep meat juicy?
It can influence chamber humidity and temperature stability, but it does not replace moisture lost from overcooking. Use it for a defined purpose.
How can beginners avoid serving late?
Start with a reverse timeline, add a buffer, choose forgiving foods, and learn a monitored safe hold. Do not rely on an exact recipe time.
What should I write in a BBQ cook log?
Record cooker, fuel, weather, food weight, probe locations, temperature trend, lid openings, wrap or sauce events, finish cues, rest, result, and one next change.
Evidence, methodology, and limitations
Evidence status: Research-backed; not hands-on tested
This guide synthesizes official food and fire safety guidance, the site’s governed beginner resources, and recurring non-Amazon community problems: wild temperature swings, constant lid opening, bitter smoke, tough meat at a target number, dry meat despite spritzing, rubbery poultry skin, and dinner-timing anxiety. No comments or identities are reproduced, and community frequency is not proof of technique.
Limitations: The corrections are broad diagnostic principles, not cooker-model settings or a promise of a particular result. Weather, cooker design, fuel, food geometry, probe condition, and desired texture change the right response. BackyardBBQGuide did not run a single multi-mistake demonstration cook. A named editor and any required safety reviewer must accept the research-only scope before release.
Sources and review boundary
Official sources govern food safety, fire safety, and manufacturer-specific operation. Community discussions informed the recurring questions addressed here but are not proof that a technique works. Check the manual for your cooker and thermometer before use.
- https://www.usfa.fema.gov/prevention/home-fires/prevent-fires/cooking/
- https://www.epa.gov/burnwise/best-wood-burning-practices
- https://www.fsis.usda.gov/food-safety/safe-food-handling-and-preparation/meat/smoking-meat-and-poultry
- https://www.fsis.usda.gov/food-safety/safe-food-handling-and-preparation/food-safety-basics/kitchen-thermometers
- https://www.fda.gov/consumers/consumer-updates/food-safety-home
- https://www.foodsafety.gov/food-safety-charts/safe-minimum-internal-temperatures