Electric Smoker Starter Guide
Electric Smoker Basics: Setup, Smoke, and Safe Use
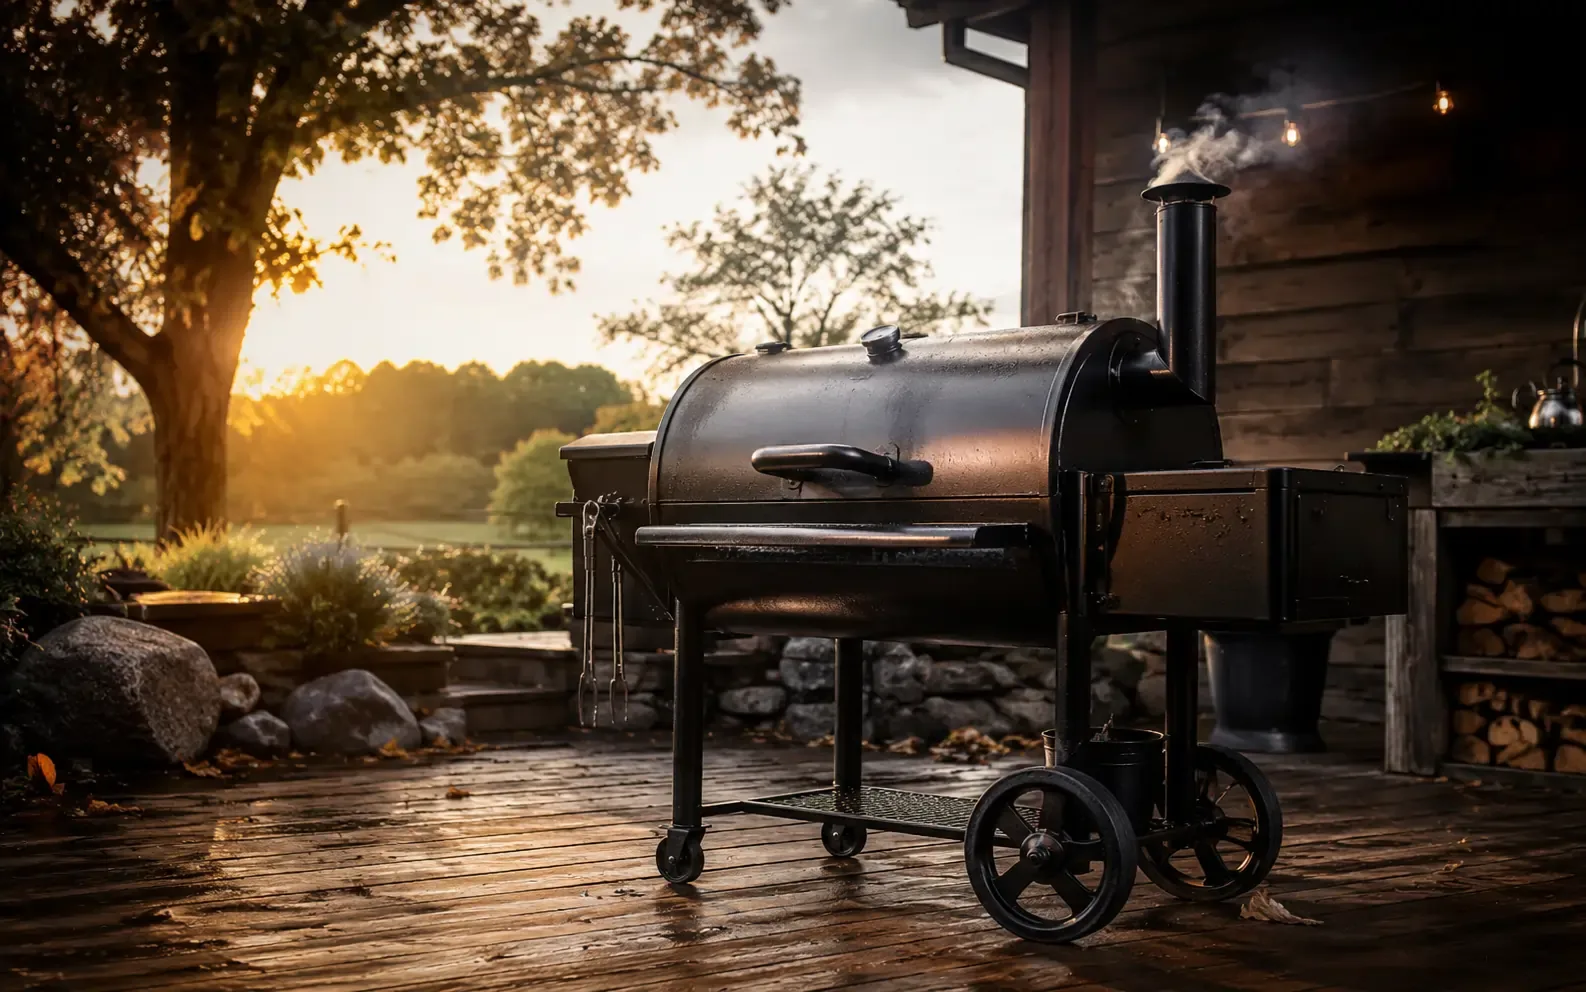
Place an electric smoker outdoors on a dry, stable surface, plug it directly into the grounded outlet arrangement required by its manual, preheat it, and verify the cooking zone with an independent probe. Add only the approved amount and form of wood to the chip tray or loader, keep the exhaust vent positioned as directed, and avoid opening the door repeatedly. Electric heat controls temperature; smoldering wood adds flavor, so more chips do not make the food cook faster.
In this guide
- Understand what the smoker controls
- Place and power it safely
- Complete the manufacturer’s first-use procedure
- Preheat and verify the food zone
- Load wood for flavor, not for heat
- Use the vent as designed
- Decide whether the water pan has a job
- Load food without defeating airflow
- Separate setpoint, food safety, and texture
- Troubleshoot weak smoke and temperature problems safely
- Cool, clean, and store without damaging controls
- Make the first cook a calibration exercise
- Frequently asked questions
- Sources
Quick answer
Understand what the smoker controls
A cabinet electric smoker usually contains a heating element near the bottom, a chip tray or side loader, racks, an exhaust vent, a controller, and sometimes a water pan or drip system. Electricity supplies heat. Wood chips or another manufacturer-approved form smolder near the element to add smoke. The controller cycles the element to maintain a setpoint, so chamber temperature naturally moves above and below the displayed target.
Identify the temperature sensor location. It may be on the back wall, far from the food, and affected by grease or proximity to the element. Locate the drain, grease tray, door seal, chip loader, and maximum rack load. Read the model manual before assembly or first heat. Do not assume a feature from another brand exists on yours.
Place and power it safely
Use the smoker outdoors in a ventilated area on a level, noncombustible, dry surface with all required clearances. Protect it from rain, standing water, irrigation, and roof runoff. Do not operate in a garage, house, shed, tent, or enclosed porch. Electric smokers still produce smoke and carbon monoxide from wood, and hot grease can ignite.
Follow the manual for outlet type, grounding, GFCI protection, and extension cords. Many manufacturers restrict extension-cord use or specify a heavy outdoor-rated cord of a maximum length. Voltage drop can reduce heating and overheat a cord. Never use a damaged plug, loose receptacle, adapter that defeats grounding, or a cord crossing water or foot traffic.
Complete the manufacturer’s first-use procedure
New smokers may require washing removable racks, drying, applying a light oil film, and running an empty high-temperature seasoning cycle. The goal is to remove manufacturing residue and condition interior surfaces, not to create food flavor. Follow the stated temperature and duration exactly. Ventilate outdoors and expect first-use odors; do not put food in during a required burn-off.
Let the unit cool before wiping or handling internal parts. Do not spray electrical controls or immerse the cabinet. Record whether the controller, element, and display behaved normally. If breakers trip, cords become hot, or error codes appear, unplug safely and contact the manufacturer rather than retrying with an improvised power setup.
Preheat and verify the food zone
Load clean racks and drip components, close the door, set the target, and preheat for the manual’s recommended period. Place an independent ambient probe near where the food will sit without touching a rack or wall. The controller reading and food-zone reading may differ because they measure different locations. Give the empty cabinet time to cycle before judging the offset.
A short temperature map is useful: compare lower, middle, and upper racks during a dry run if the manual permits. Do not permanently recalibrate or modify the controller based on one reading. Probe accuracy, door openings, direct radiation, and an empty versus loaded cabinet all affect the comparison.
Load wood for flavor, not for heat
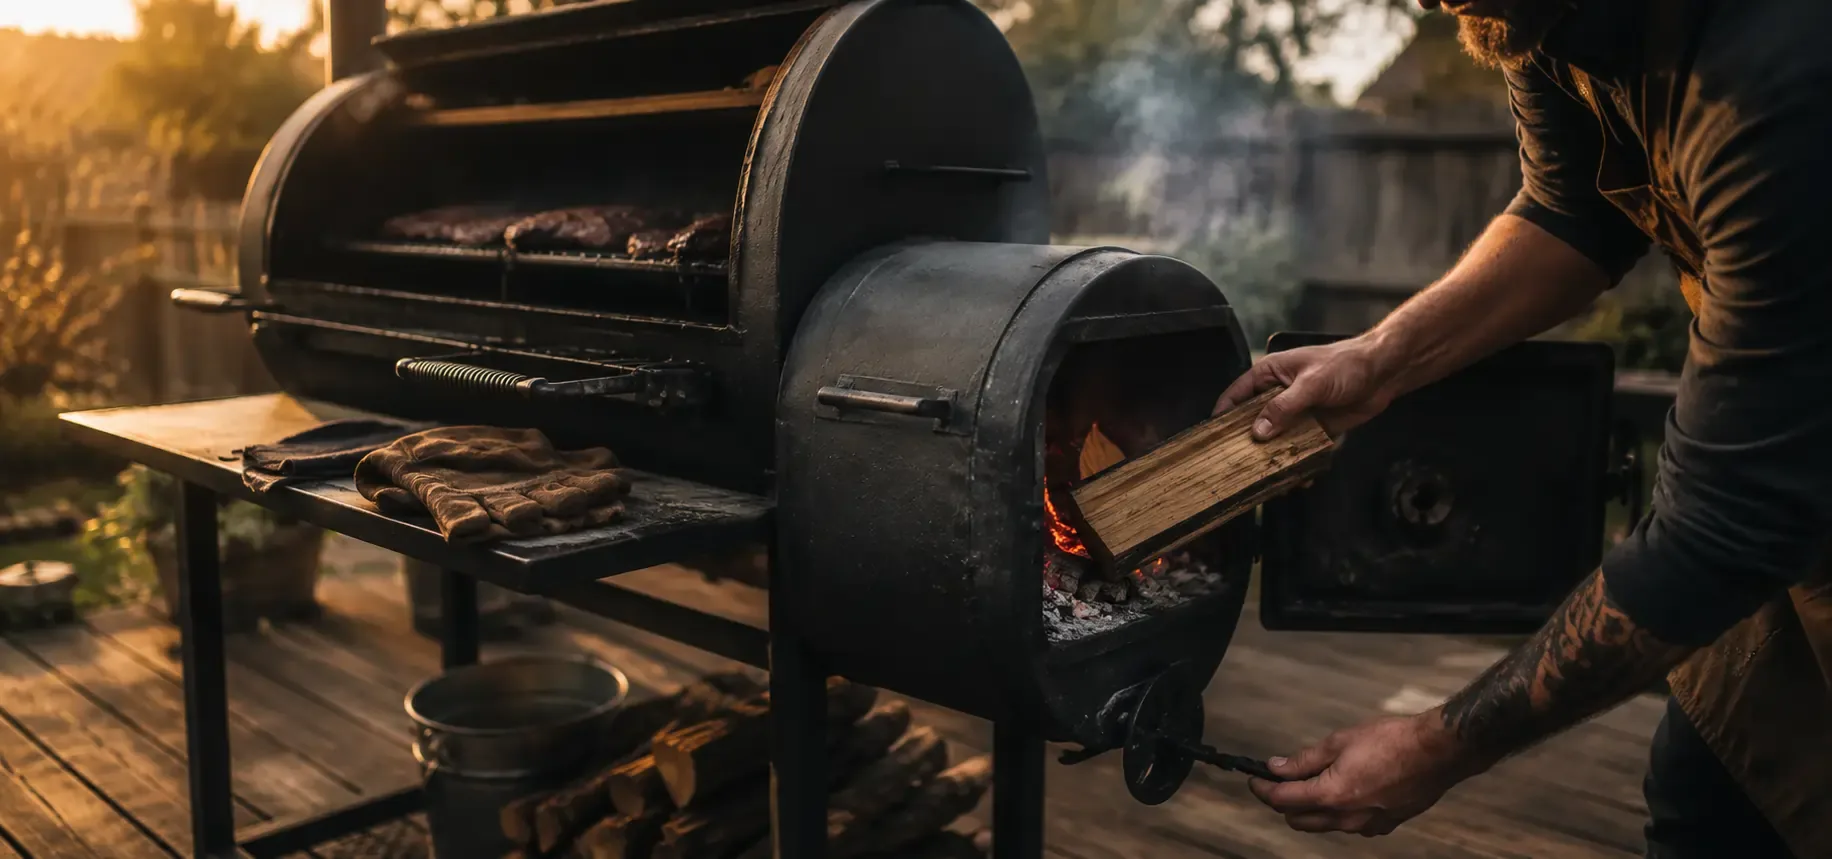
Use only the wood form, quantity, and loader procedure approved by the manual. Some cabinets use dry chips; others allow small chunks or proprietary trays. Never add pellets to a chip tray or chips to a pellet auger unless explicitly approved. Overfilling can produce dense smoldering smoke, jam a loader, or block airflow. Soaking chips is model-dependent and often unnecessary; the manual decides.
Start with a modest load and note when smoke appears and fades. Poultry and small foods need less exposure than a large shoulder. It is normal for an electric smoker not to produce a constant visible plume. Flavor comes from controlled exposure, not from keeping the chip tray overflowing all day.
Use the vent as designed
The exhaust lets moisture and combustion products leave. Many electric smokers are intended to run with the top vent fully or mostly open, but model instructions vary. Closing it to trap smoke can create stale, bitter conditions and excess condensation. Openings also affect heat loss, so copy the manual rather than a universal vent percentage.
Keep the vent physically clear. Grease, foil, covers, and insects can obstruct it. Do not cover racks or the cabinet floor with foil unless allowed, because doing so can redirect grease, block sensors, or alter airflow. If condensation drips onto food, check vent position, load, weather, and water-pan use before adding more heat.
Decide whether the water pan has a job
A water pan can add thermal mass, collect drips, and raise chamber humidity. It does not pump moisture into the center of meat. Use it if the manufacturer supplies or recommends it and if it supports the recipe. Fill it to the stated level without spilling onto the element. Do not assume beer, juice, or herbs in the pan create meaningful internal flavor.
In humid weather or with a large meat load, extra water can increase condensation and slow bark formation. For poultry skin, a wet low-temperature cabinet can work against crispness. Decide based on the desired surface, then record the result. Remove and clean the pan after cooling because grease and stagnant liquid create sanitation and fire problems.
Load food without defeating airflow
Preheat before opening. Arrange food with space around pieces and without touching cabinet walls. Put a drip pan only where the manual allows and do not block the element, sensor, drain, or vents. Keep raw poultry below foods that will not receive further cooking if different items share the cabinet. Avoid overloading; a cold dense load extends recovery and can produce uneven zones.
Insert leave-in probes before closing when practical. Route cables through a designated port rather than crushing them in the door. Open only for a decision: rotate around a documented hot spot, verify temperature, add approved wood, or apply a late glaze. Every long inspection loses heat.
Separate setpoint, food safety, and texture
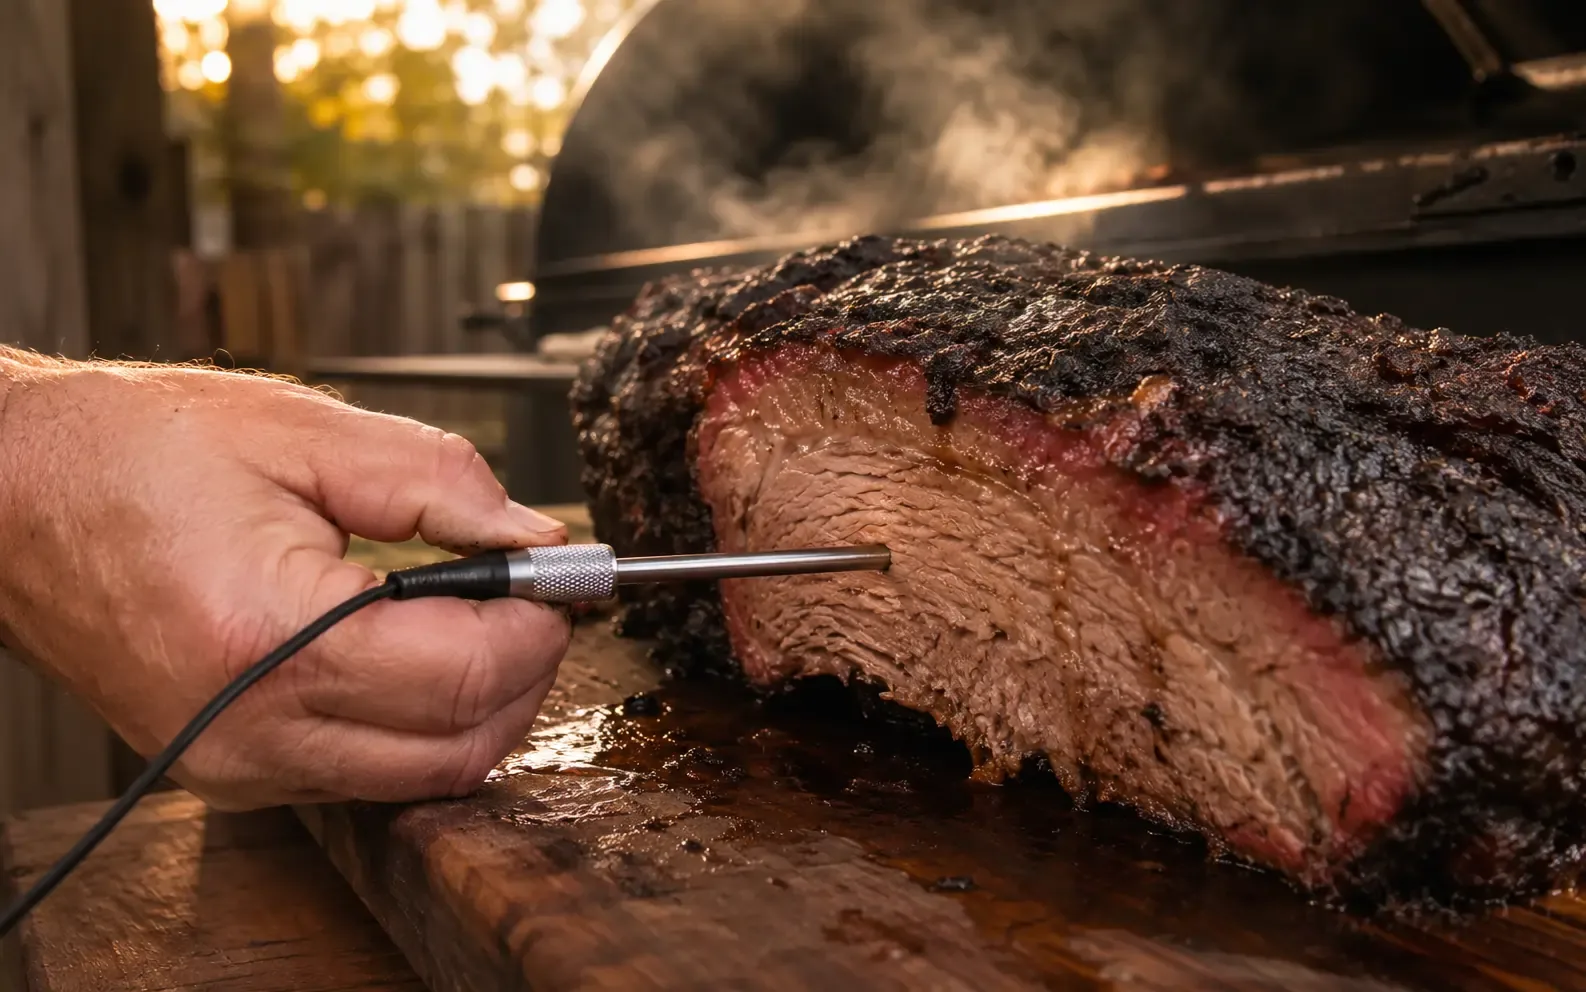
The smoker setpoint controls the cooking environment. The food’s internal temperature supports safety decisions. Texture determines whether collagen-rich cuts are tender or poultry skin is acceptable. Those are three different measurements. Verify food in the thickest edible portion away from bone, then use an instant-read thermometer in multiple locations before serving.
Current U.S. consumer guidance lists 165°F for poultry and ground meats, 145°F with specified rest for whole cuts of pork and beef, and 145°F for fish; always check the current official chart for the exact food. Barbecue texture may require further cooking, but extra time does not correct unsafe handling before the cook.
Troubleshoot weak smoke and temperature problems safely
If there is no smoke, confirm the smoker has reached the temperature at which the approved wood system operates, the tray is loaded correctly, and the loader is seated. Damp chips and poor contact can delay smoldering. Do not open electrical panels or bypass sensors. If the element heats but wood never smolders, follow model support steps.
If the cabinet runs cool, check outdoor temperature, wind, door seal, extension-cord compliance, voltage guidance, and load size. If it runs hot, verify with a second probe after cycling and inspect sensor cleanliness only as the manual allows. Repeated breaker trips, hot plugs, damaged insulation, burning electrical smells, or error codes are stop conditions: unplug if safe and contact qualified support.
Cool, clean, and store without damaging controls
After cooking, follow the shutdown procedure, unplug when directed, and allow the smoker to cool fully. Remove racks, water pans, and drip trays for cleaning. Dispose of grease safely. Wipe loose residue while preserving any seasoned interior finish the manufacturer says to keep. Clear the drain and vent. Never pressure-wash the cabinet or immerse electrical parts.
Inspect the cord and plug before storage. Keep the smoker dry and covered only after it is cool. Empty wet chips and standing water. A clean temperature sensor and unobstructed airflow improve repeatability, while grease accumulation raises fire risk. If corrosion, damaged wiring, or a failed seal appears, use approved parts and service.
Make the first cook a calibration exercise
Choose a forgiving food and a simple seasoning. Record ambient weather, preheat time, setpoint, independent middle-rack temperature, wood type and amount, smoke timing, food weight, door openings, and internal readings. Do not fill every rack or schedule a party. The objective is to learn recovery time, temperature zones, and wood behavior.
Afterward, note one improvement. Perhaps the middle rack ran cooler, chips were excessive, the water pan delayed bark, or the door stayed open too long. Repeat before changing hardware. A basic electric smoker can be consistent when its actual zone and workflow are understood, but consistency should be demonstrated with logs rather than assumed from the digital display.
Frequently asked questions
Do you soak wood chips for an electric smoker?
Only if the model manual recommends it. Many electric smokers use dry chips. Soaking delays heating and can increase wet smoldering rather than improving smoke.
Should the vent be open on an electric smoker?
Often it should be mostly or fully open, but designs vary. Follow the manual; do not close it simply to trap more smoke.
Why is my electric smoker not producing smoke?
The cabinet may be too cool for the chip system, chips may be damp or loaded incorrectly, or the tray may lack proper contact. Use manufacturer troubleshooting and do not bypass controls.
Can I use an electric smoker indoors or in a garage?
No. Operate outdoors with required clearances. Wood smoke and carbon monoxide remain hazards, and hot grease can ignite.
Do I need a separate thermometer?
An independent grate probe helps reveal the temperature where the food sits, while an instant-read thermometer confirms food in several locations. The built-in sensor measures a different spot.
Does the water pan keep meat moist?
It can affect chamber humidity and thermal stability, but it does not replace moisture lost through overcooking. Use it for a defined purpose and follow the manual.
Can I use pellets in an electric smoker chip tray?
Only if the manufacturer explicitly approves them. Fuel forms are not interchangeable, and the wrong material can smolder poorly or damage the system.
Why does my electric smoker trip the breaker?
Moisture, a damaged cord, overloaded circuit, faulty element, or noncompliant extension cord may be involved. Stop using it, unplug if safe, and follow manufacturer or qualified-service guidance rather than retrying.
Evidence, methodology, and limitations
Evidence status: Research-backed; not hands-on tested
This guide synthesizes official cooking and electrical/fire safety boundaries, general cabinet-smoker mechanics, live governed smoker resources, and recurring user problems involving weak smoke, wet chips, controller-display differences, door opening, moisture, and cleanup. Community issues were paraphrased without quotations or identities. No specific electric smoker was unboxed, seasoned, temperature-mapped, or cooked on.
Limitations: Controls, wiring, outlet requirements, extension-cord rules, weather ratings, vent design, chip capacity, water pans, and cleaning procedures vary by model. The owner’s manual overrides every generic setting here. This page does not authorize electrical repair, controller modification, indoor use, or bypassing safety devices. No images or performance claims are included.
Sources and review boundary
Official sources govern food safety, fire safety, and manufacturer-specific operation. Community discussions informed the recurring questions addressed here but are not proof that a technique works. Check the manual for your cooker and thermometer before use.
- https://www.usfa.fema.gov/prevention/home-fires/prevent-fires/cooking/
- https://www.epa.gov/burnwise/best-wood-burning-practices
- https://www.fsis.usda.gov/food-safety/safe-food-handling-and-preparation/meat/smoking-meat-and-poultry
- https://www.fsis.usda.gov/food-safety/safe-food-handling-and-preparation/food-safety-basics/kitchen-thermometers
- https://www.fda.gov/consumers/consumer-updates/food-safety-home
- https://www.foodsafety.gov/food-safety-charts/safe-minimum-internal-temperatures