Stick-Burner Starter Guide
Offset Smoker Basics: Fire, Airflow, and Clean Smoke
Run an offset smoker with a small, hot wood fire and an open exhaust—not a large smoldering pile. Preheat the steel, add dry splits that fit the firebox, control heat mainly with fire size and intake, and make small changes before waiting for the pit to respond. Put food away from the firebox hot spot, verify grate temperature beside it, and add one split before the coal bed collapses.
In this guide
- Know the airflow path before lighting
- Choose a safe location and prepare the pit
- Build the startup coal bed
- Manage temperature with fire size, not smoke restriction
- Recognize a healthy fire without chasing blue smoke myths
- Read temperature at the food zone
- Choose and store wood for an offset
- Arrange food around the pit’s heat pattern
- A repeatable split-feeding routine
- Shutdown, ash, and maintenance
- Use the first cook as calibration, not a performance test
- Frequently asked questions
- Sources
Quick answer
Know the airflow path before lighting
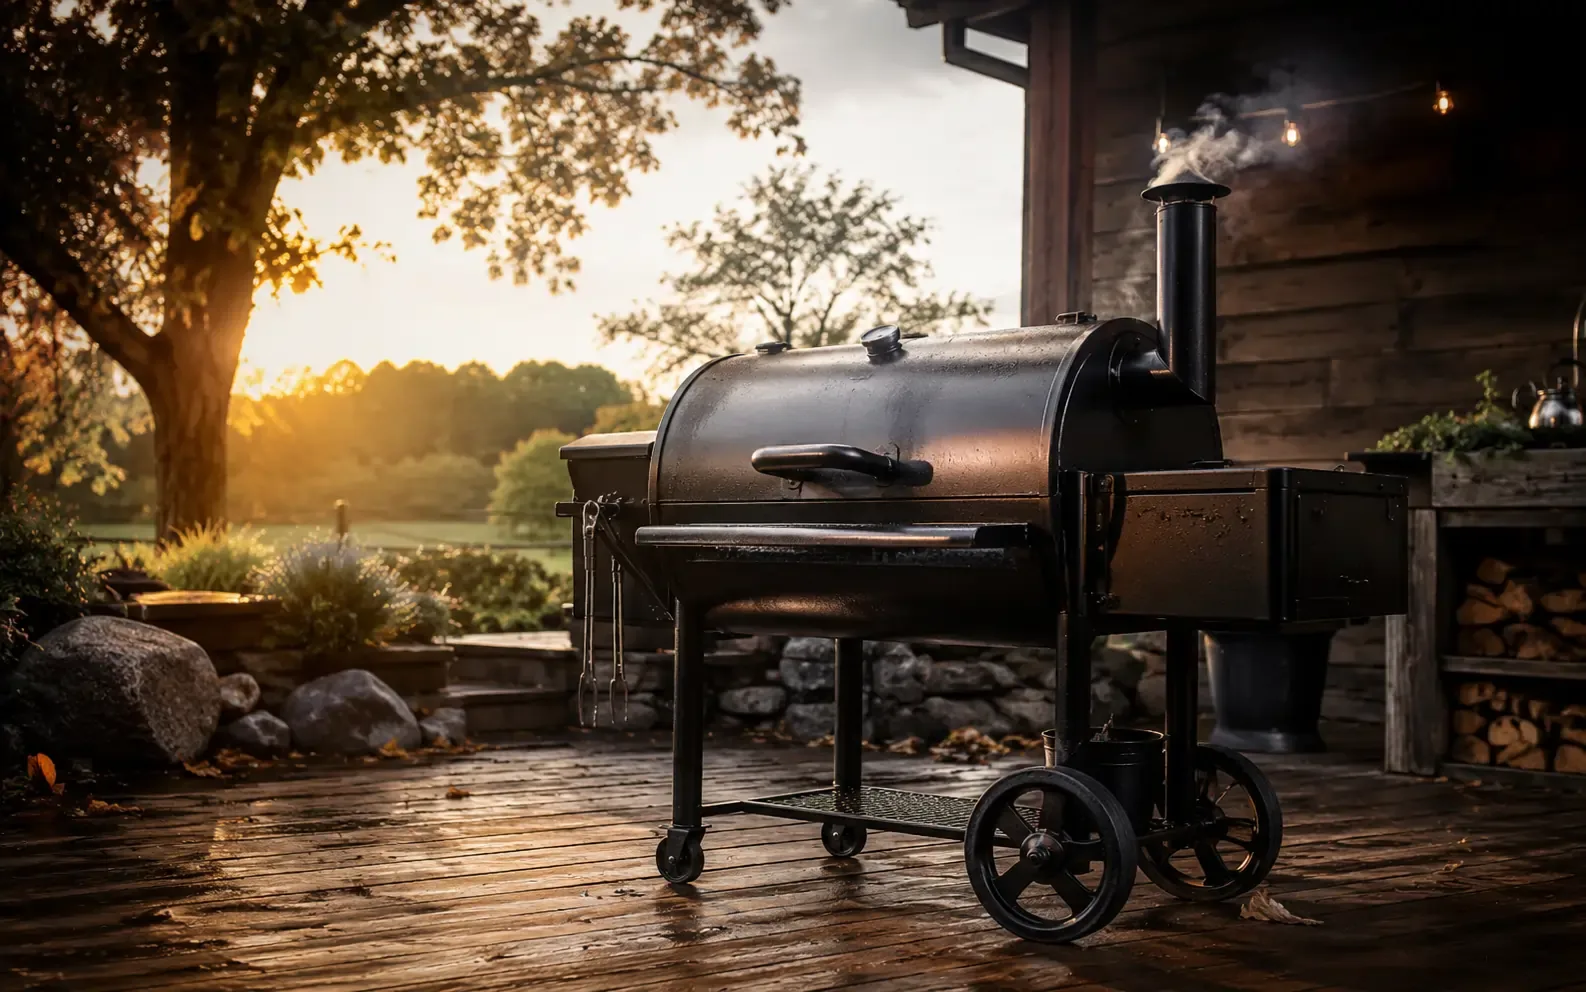
A traditional offset places the fire in a side box. Hot gases and smoke enter the main chamber, travel past the food, and leave through a stack. The firebox side is usually hotter because radiant heat and incoming gases are strongest there. A reverse-flow offset redirects gases under a plate before they return across the food; its heat pattern and stack location differ. Identify which design you own.
Locate the intake, exhaust damper, fire grate or basket, ash area, cooking grates, drain, and any baffle. Read the manual for required seasoning and clearances. Make sure doors move freely and the stack is unobstructed. Do not apply internet modifications before learning the stock cooker. A leak that looks dramatic may not prevent cooking, while a blocked stack creates a more serious combustion problem.
Choose a safe location and prepare the pit
Set the smoker outdoors on a stable, noncombustible surface with the clearances required by the manufacturer. Keep it away from walls, roofs, dry grass, vehicles, and foot traffic. Account for the direction of sparks and exhaust. Never run it in a garage, tent, porch enclosure, or other area where carbon monoxide can accumulate. Keep children and pets outside the work zone.
Have heat-resistant gloves, long tongs, a metal ash tool, extinguisher appropriate to the setting, and a clear path to the firebox. Check wind before lighting. Strong wind can force air into the intake, pull heat from thin steel, or carry embers. Do not leave a live fire unattended.
Build the startup coal bed
Open the exhaust and intake as the manual recommends. Light a chimney of charcoal or a compact kindling fire rather than filling the firebox with cold splits. When the starter fuel is fully burning, spread it into a concentrated coal bed and add one or two small dry splits with space for air. Keep the firebox door or intake configured to support ignition without allowing sparks to escape unsafely.
Preheat the cooker until the steel warms and the initial heavy startup smoke clears. This can take longer on thick steel or cold days. Do not rush by adding a mountain of wood. The startup goal is a stable bed of embers capable of igniting the next split quickly. Place a grate probe where the food will cook, not directly against metal.
Manage temperature with fire size, not smoke restriction
An offset responds best to a compact fire burning actively. If the pit is too cool, add a suitably sized lit-catching split or improve intake. If it is too hot, reduce the size or frequency of future splits and move the coal bed as appropriate; do not slam the exhaust shut to trap a dirty fire. Make one change and wait for the heavy steel and chamber air to respond.
Split dimensions matter. A split too large for the coal bed absorbs heat, smolders, and can drive a later spike after it finally ignites. A very small split burns cleanly but needs frequent feeding. Prepare a range of uniform pieces before the cook. Pre-warming the next split on a safe manufacturer-approved shelf or near—not on—a dangerous hot surface can shorten ignition lag.
Recognize a healthy fire without chasing blue smoke myths
Clean combustion often produces thin, light, or nearly invisible exhaust, but appearance changes with sunlight, humidity, and startup. Focus on the fire: the split should ignite, the coal bed should glow, and exhaust should not remain dense, sharp, and sooty. A brief puff after adding fuel can be normal. Persistent billowing smoke means the new wood is not burning well.
Open the airflow, rearrange the split for contact with coals, or use a smaller dry split. Do not put food into a chamber filled with startup soot if you can wait for the fire to settle. Never lean over the stack or intentionally inhale smoke. If soot deposits on the food or chamber, stop and correct combustion.
Read temperature at the food zone
A door-mounted gauge measures its own location, which may be higher and closer to the fire path than the cooking grate. Use an independent ambient probe near the food, clipped above the grate and shielded from direct contact. Map the cooker with inexpensive food on an early cook: note the firebox side, stack side, upper racks, and recovery after opening.
Do not chase every five-degree movement. Wood fires cycle as a split ignites, peaks, and burns down. Manage the average cooking environment and avoid large sustained departures. Log split-add times, vent changes, weather, and grate readings. Patterns become predictable after several cooks; memory alone tends to exaggerate the last spike.
Choose and store wood for an offset
Use known, dry, untreated hardwood suitable for cooking. Oak is a flexible base; hickory is stronger; fruit woods can be blended for a lighter profile. Avoid construction scraps, painted or pressure-treated lumber, moldy wood, driftwood, and unknown species. Split length and thickness must fit the firebox and coal bed.
Store wood off the ground with protection from rain and enough airflow to remain dry. Surface moisture after rain can delay ignition even if the core is seasoned. Bark is not automatically harmful, but loose dirty bark and debris add uncertainty. Prepare more uniform splits than you expect to need so the fire is not forced to accept a giant log near the end.
Arrange food around the pit’s heat pattern
Leave space around food for airflow. Put thick, resilient cuts toward the warmer side and delicate or nearly finished pieces farther away, but verify your pit rather than assuming the diagram. Rotate only when the log shows a real imbalance; constant door opening loses heat and feeds oxygen to the fire. Shield a hot edge with a pan or baffle only if the cooker permits it.
A water pan can add thermal mass and humidity, but it does not inject moisture into the center of meat. Place it safely so it cannot spill into the fire or block airflow. Keep raw food handling separate from fire tools, and use an instant-read thermometer for final checks.
A repeatable split-feeding routine
Watch the coal bed rather than waiting for the chamber temperature to crash. Add one split while enough glowing coals remain to ignite it. Open the firebox briefly and place the split with airflow around it. Confirm flame, close the door as designed, and record the time. If the new split smolders, correct contact or airflow promptly.
As the cook progresses, ash can restrict air under the fire. Clear it only with safe tools and without dumping embers outside the firebox. Adjust split size as weather changes. Near the end, stop feeding early enough that the remaining coal bed can finish the food without leaving a large live fire to manage after dinner.
Shutdown, ash, and maintenance
Follow the manual’s shutdown procedure. Do not pour water into a hot firebox unless the manufacturer explicitly instructs it; rapid cooling can warp steel and create steam or ash hazards. Close vents only when appropriate for extinguishing after cooking, and continue supervising until the fire is out. Treat ash as hot long after it looks gray.
When fully cold, remove ash because it holds moisture and can accelerate corrosion. Brush grates, clear grease drains, and inspect the stack, fire grate, door seals, and probe ports. Keep oily rags and grease away from ignition sources. A clean, unobstructed smoker is easier to control and less likely to produce a grease fire.
Use the first cook as calibration, not a performance test
Choose forgiving, inexpensive food such as chicken thighs or a small pork roast, subject to safe handling. Record ambient weather, startup fuel, wood species and split dimensions, grate temperature, food location, every split addition, and every door opening. Note where color develops and how long the pit takes to recover.
Do not try a new rub, new wood, overnight schedule, and full party menu at once. The goal is to learn the machine. Afterward, identify one change: smaller splits, earlier additions, better wind protection, or a different food zone. An offset becomes repeatable through records and small corrections, not a magic vent setting.
Frequently asked questions
Should the stack be open on an offset smoker?
Generally yes during cooking so combustion gases can exit, unless the manufacturer gives different instructions. Control heat mainly with fire size and intake rather than choking the exhaust.
Why does my offset smoker make thick white smoke?
The split may be damp, oversized, cold, or starved of oxygen. Use a strong coal bed, smaller dry splits, and adequate airflow.
How often should I add wood?
Add a split before the coal bed collapses. The interval varies with pit size, steel, split dimensions, weather, and target temperature, so log your cooker instead of copying a clock.
Can I use charcoal in an offset smoker?
Charcoal is commonly used to establish or support a coal bed, but wood splits usually provide ongoing heat and smoke. Follow the manual for approved fuel.
Do I need to seal every leak?
No. Learn the stock pit first. Some leakage is common; exhaust obstruction, poor fire size, and bad fuel often matter more. Avoid modifications that create warranty or safety issues.
Where should food go in an offset smoker?
Usually away from the strongest firebox-side heat, but map your actual grate temperatures. Different offset and reverse-flow designs have different patterns.
Can I use an offset smoker in a garage?
No. Use it outdoors with required clearances. Smoke and carbon monoxide can accumulate in garages and enclosed patios even when doors are open.
What is the easiest first cook on an offset?
Choose a forgiving, lower-cost food and treat the cook as a temperature and airflow log. Avoid risking a large brisket before learning the pit’s fuel rhythm.
Evidence, methodology, and limitations
Evidence status: Research-backed; not hands-on tested
This beginner guide draws on official fire and wood-burning safety principles, general offset-smoker mechanics, the governed fire-control hub, and recurring community problems involving white smoke, oversized splits, leaks, wind, and temperature chasing. Community pain was synthesized without quotations or identities. No specific offset model was assembled, mapped, or logged for this article.
Limitations: Offsets vary in steel thickness, stack height, baffle design, firebox size, door leakage, and reverse-flow configuration. Vent positions, split sizes, startup fuel, and recovery times here are principles rather than model-specific settings. The owner’s manual governs clearances, seasoning, fuels, shutdown, and modifications. No hands-on result or image evidence is claimed.
Sources and review boundary
Official sources govern food safety, fire safety, and manufacturer-specific operation. Community discussions informed the recurring questions addressed here but are not proof that a technique works. Check the manual for your cooker and thermometer before use.